其實跟昨天的那篇沒有差太多,但就是進階版本。(詳情可以看 警號訊息框 )
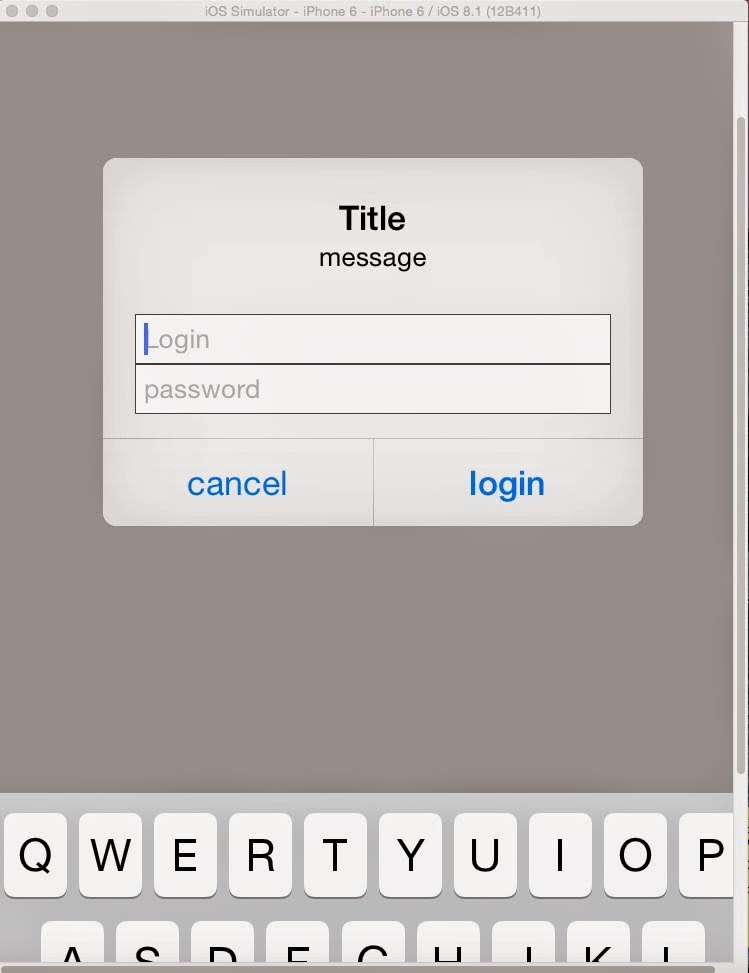
先放上完成圖 & code

一樣是在viewcontroller.m裡面做修改喔!
詳細的備註程式裡面有寫完整了,如果還不會也是可以發問
//
// ViewController.m
// AlertDialog_with_account_n_passwd
//
// Created by daniel on 2015/1/27.
// Copyright (c) 2015年 daniel. All rights reserved.
//
#import "ViewController.h"
@interface ViewController ()
@end
@implementation ViewController
- (void)viewDidLoad {
[super viewDidLoad];
// Do any additional setup after loading the view, typically from a nib.
}
- (void)didReceiveMemoryWarning {
[super didReceiveMemoryWarning];
// Dispose of any resources that can be recreated.
}
- (void) viewDidAppear:(BOOL)animated
{
//create a UIAlertController
UIAlertController *alertController = [UIAlertController
alertControllerWithTitle:@"Title" message:@"message" preferredStyle:UIAlertControllerStyleAlert];
//declare a "cancel" button
UIAlertAction *cacelAction = [UIAlertAction actionWithTitle:@"cancel" style:UIAlertActionStyleDefault handler: ^(UIAlertAction *action){
[self dismissViewControllerAnimated:YES completion:nil];}];
//declare a "login" button
UIAlertAction *okAction = [UIAlertAction actionWithTitle:@"login" style:UIAlertActionStyleDefault
handler:^(UIAlertAction *action){
NSString *uid = ((UITextField *) [alertController.textFields objectAtIndex:0]).text;
NSString *pwd = ((UITextField *) [alertController.textFields objectAtIndex:1]).text;
NSLog(@"account = %@",uid);
NSLog(@"password = %@",pwd);}];
//create first textfield
[alertController addTextFieldWithConfigurationHandler:^(UITextField *textField)
{textField.placeholder = @"Login";}];
//create second textfield
[alertController addTextFieldWithConfigurationHandler:^(UITextField *textField)
{textField.placeholder = @"password";
textField.secureTextEntry = YES;}];
[alertController addAction:cacelAction];
[alertController addAction:okAction];
[self presentViewController:alertController animated:YES completion:nil];
}
@end
就是這樣囉!
END


